Data Scraping
Data scraping is the process of extracting information from a target source and saving it into a file for further use. This target could be a website, an application, or any digital platform containing structured or unstructured data. The main goal of data scraping is to collect large amounts of data efficiently without manual copying, making it easier for organizations or individuals to gather the information they need for analysis or reporting.
The process often involves using automated tools or scripts, such as web crawlers, bots, or specialized scraping frameworks. These tools navigate the target source, locate the desired data, and extract it in a structured format such as CSV, JSON, or Excel. Depending on the source, data scraping may require overcoming challenges such as dynamic content, login requirements, or anti-bot measures. It is a technical process that requires careful handling to ensure accuracy and efficiency.
While data scraping focuses on data collection, the extracted information is often analyzed in a subsequent process called data mining. For example, a web crawler may scrape product details, prices, and reviews from e-commerce websites, and the collected data can then be analyzed to identify trends, patterns, or insights. By separating extraction from analysis, organizations can efficiently manage raw data and transform it into actionable intelligence, making data scraping a crucial first step in many data-driven workflows.
Web Scraping
Web Scraping is the automated process of extracting data from websites by using software tools or scripts to collect information directly from web pages. Websites can contain either static content, which is fixed in the page’s HTML and generally easier to scrape, or dynamic content, which is generated using JavaScript and may require more advanced tools or browser automation to access. Web scraping is commonly used for data collection, research, price monitoring, market analysis, and cybersecurity investigations. However, it is important to follow ethical and legal guidelines when scraping data, including reviewing the website’s terms of service and robots.txt file to ensure that scraping is permitted, as unauthorized data extraction may violate policies or laws.
Manual Web Scraping
The process of extracting data from webpages without using any scraping tools or features is convenient for very small amounts of content. Still, it becomes very complicated if the data is large or needs to be scraped more often. One of the great benefits of manual scraping is human review; every data point is checked by the person who scrapes it.
Manual Web Scraping (Example #1)
Getting all the URLs from this wiki page
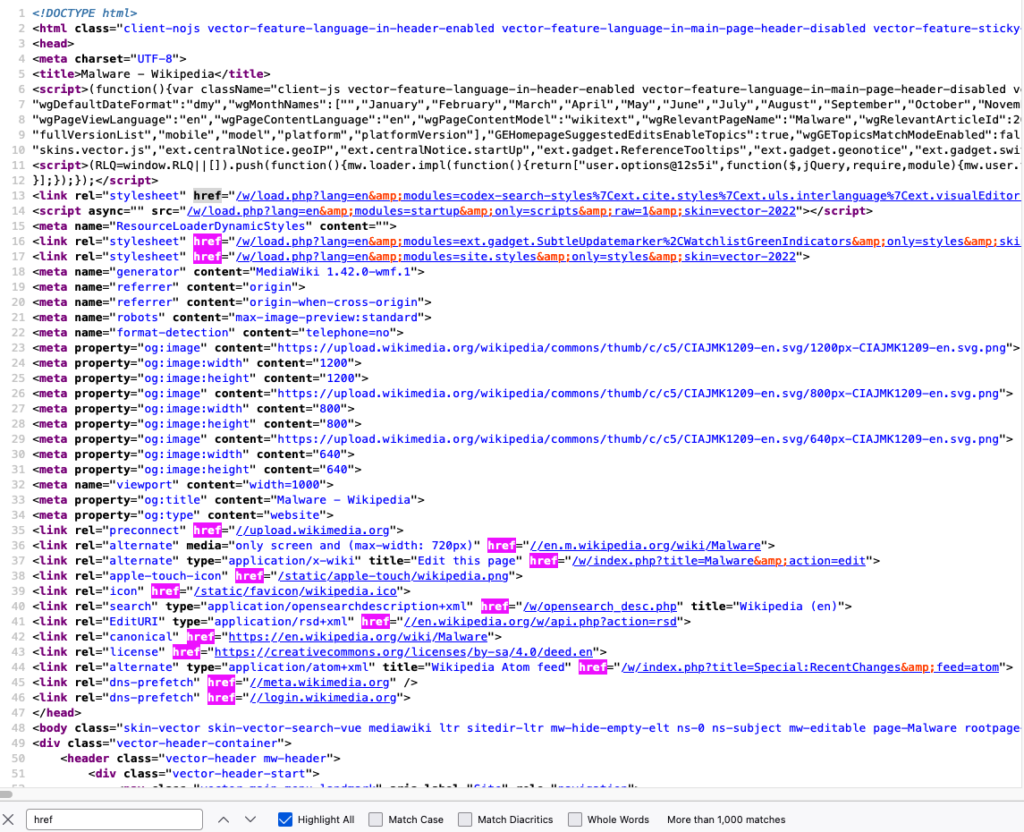
Right click of the page and choose View Page Source
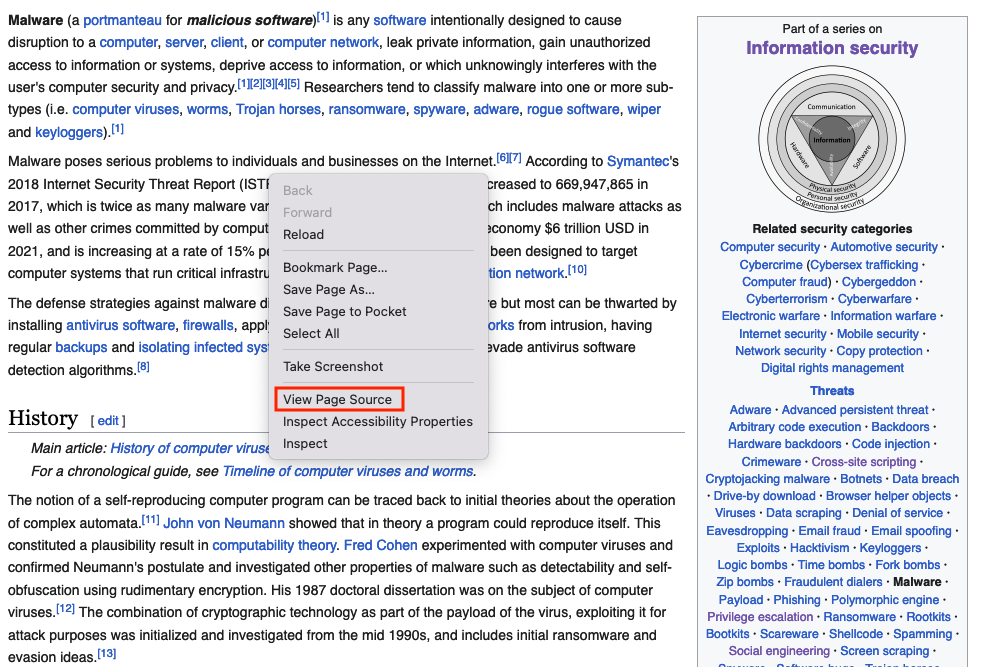
Search the page for the href html tags (This tag defines a hyperlink), click on Highlight All and copy them one by one, this will take very long time, what you can do is taking the content and paste it into a text editor, and use href=["'](?<link>.*?)['"] or (?<=href=")[^"]* regex
Save them into a file
href="/w/load.php?lang=en&modules=codex-search-styles%7Cext.cite.styles%7Cext.uls.interlanguage%7Cext.visualEditor.desktopArticleTarget.noscript%7Cext.wikimediaBadges%7Cjquery.makeCollapsible.styles%7Cskins.vector.icons%2Cstyles%7Cwikibase.client.init&only=styles&skin=vector-2022"
href="/w/load.php?lang=en&modules=ext.gadget.SubtleUpdatemarker%2CWatchlistGreenIndicators&only=styles&skin=vector-2022"
href="/w/load.php?lang=en&modules=site.styles&only=styles&skin=vector-2022"
href="//upload.wikimedia.org"
href="//en.m.wikipedia.org/wiki/Malware"
href="/w/index.php?title=Malware&action=edit"
href="/static/apple-touch/wikipedia.png"
href="/static/favicon/wikipedia.ico"
href="/w/opensearch_desc.php"
href="//en.wikipedia.org/w/api.php?action=rsd"
href="https://en.wikipedia.org/wiki/Malware"
href="https://creativecommons.org/licenses/by-sa/4.0/deed.en"
href="/w/index.php?title=Special:RecentChanges&feed=atom"
href="//meta.wikimedia.org"
href="//login.wikimedia.org"
...
...
...
Automated Web Scraping
This is done by utilizing tools that get the content and save it into files; Python has been heavily utilized for web scraping. There are different Python modules like beautifulsoup or pandas that are used for both scraping and mining.
Automated Web Scraping (Example #1)
The beautifulsoup module is good for getting all the URLs from a webpage, this method of scraping is limited, it works great with static content, but you cannot get dynamic content or a screenshot of the website using this method
Install beautifulsoup4 and lxml using the pip command
from bs4 import BeautifulSoup # Import BeautifulSoup for HTML parsing
from requests import get # Import get() to send HTTP requests
headers = {“User-Agent”: “Mozilla/5.0 (Windows NT 10.0; Win64; x64) AppleWebKit/537.36 (KHTML, like Gecko) Chrome/100.0.4896.75 Safari/537.36”} # Mimic a real browser
response = get(“https://en.wikipedia.org/wiki/Main_Page”, headers=headers) # Send GET request with defied header
print(response.status_code) # Print HTTP status code (200 = OK)
soup = BeautifulSoup(response.text, ‘html.parser’) # Parse HTML content
for item in soup.find_all(href=True): # Loop through all tags containing an href attribute
print(item[‘href’]) # Print the link URL
from bs4 import BeautifulSoup
from requests import get
headers = {"User-Agent": "Mozilla/5.0 (Windows NT 10.0; Win64; x64) AppleWebKit/537.36 (KHTML, like Gecko) Chrome/100.0.4896.75 Safari/537.36"}
response = get("https://en.wikipedia.org/wiki/Main_Page", headers=headers)
print(response.status_code)
soup = BeautifulSoup(response.text, 'html.parser')
for item in soup.find_all(href=True):
    print(item['href'])
Output
href="/w/load.php?lang=en&modules=codex-search-styles%7Cext.cite.styles%7Cext.uls.interlanguage%7Cext.visualEditor.desktopArticleTarget.noscript%7Cext.wikimediaBadges%7Cjquery.makeCollapsible.styles%7Cskins.vector.icons%2Cstyles%7Cwikibase.client.init&only=styles&skin=vector-2022"
href="/w/load.php?lang=en&modules=ext.gadget.SubtleUpdatemarker%2CWatchlistGreenIndicators&only=styles&skin=vector-2022"
href="/w/load.php?lang=en&modules=site.styles&only=styles&skin=vector-2022"
href="//upload.wikimedia.org"
href="//en.m.wikipedia.org/wiki/Malware"
href="/w/index.php?title=Malware&action=edit"
href="/static/apple-touch/wikipedia.png"
href="/static/favicon/wikipedia.ico"
href="/w/opensearch_desc.php"
href="//en.wikipedia.org/w/api.php?action=rsd"
href="https://en.wikipedia.org/wiki/Malware"
href="https://creativecommons.org/licenses/by-sa/4.0/deed.en"
href="/w/index.php?title=Special:RecentChanges&feed=atom"
href="//meta.wikimedia.org"
href="//login.wikimedia.org"
...
...
...
Automated Web Scraping (Example #2)
The pandas module is good for getting all tables within a page, similar to the previous example, this method of scraping is limited, it works great with static content, but you cannot get dynamic content or a screenshot of the website using this method
Install pandas and lxml using the pip command
# bash /Applications/Python*/Install\ Certificates.command # macOS command to install SSL certificates if needed
import pandas as pd # Import pandas for data handling and HTML table parsing
import ssl # Import SSL module to handle HTTPS settings
ssl._create_default_https_context = ssl._create_unverified_context # Disable SSL certificate verification (useful when encountering certificate errors)
tables = pd.read_html(“https://goblackbears.com/sports/baseball/stats”) # Read all HTML tables from the given URL into a list of DataFrames
for i, table in enumerate(tables): # Loop through each table with its index
print(“Table %s\n” % i, table.head()) # Print table index and first 5 rows
import pandas as pd
tables = pd.read_html("https://goblackbears.com/sports/baseball/stats")
for i, table in enumerate(tables):
    print("Table %s\n" % i,table.head())
Output
Table 0
     0                                                  1
0 NaN  This article has multiple issues. Please help ...
1 NaN  This article needs to be updated. Please help ...
2 NaN  This article needs additional citations for ve...
Table 1
     0                                                  1
0 NaN  This article needs to be updated. Please help ...
Table 2
     0                                                  1
0 NaN  This article needs additional citations for ve...
Table 3
      Virus  ...                                              Notes
0     1260  ...   First virus family to use polymorphic encryption
1       4K  ...  The first known MS-DOS-file-infector to use st...
2      5lo  ...                            Infects .EXE files only
3  Abraxas  ...  Infects COM file. Disk directory listing will ...
4     Acid  ...  Infects COM file. Disk directory listing will ...

[5 rows x 9 columns]
Table 4
      vteMalware topics                                vteMalware topics.1
0   Infectious malware  Comparison of computer viruses Computer virus ...
1          Concealment  Backdoor Clickjacking Man-in-the-browser Man-i...
2   Malware for profit  Adware Botnet Crimeware Fleeceware Form grabbi...
3  By operating system  Android malware Classic Mac OS viruses iOS mal...
4           Protection  Anti-keylogger Antivirus software Browser secu...
Automated Web Scraping (Example #3)
One of the best web scraping techniques is using a headless browser, which means running a browser that runs without a graphical user interface (GUI). This was originally used for automated quality assurance tests but has recently been used for scraping. The main two benefits of using the headless browser is rendering dynamic content and behaving like a human browsing a website.
The following scripts will not run on Google Colab
Scrape using Firefox (with geckodriver setup)
- Install the latest Firefox version
- Install
seleniumusing thepipcommand - Download the geckodriver from here (The Firefox application version has to match the webdriver version)
- Extract the geckodriver and note the location (E.g., /scrape/geckodriver)
from selenium import webdriver # Import Selenium WebDriver
options = webdriver.firefox.options.Options() # Create Firefox options object
options.add_argument(“–headless”) # Run Firefox in headless mode (no GUI)
service = webdriver.firefox.service.Service(r’path to the geckodriver’) # Specify the local path to geckodriver executable
browser = webdriver.Firefox(options=options, service=service) # Launch Firefox with the specified options
browser.get(‘https://www.google.com’) # Open Google homepage
# print(browser.find_element(By.XPATH, “/html/body”).text) # (Optional) Print the full page text
browser.save_screenshot(“screenshot_using_firefox.png”) # Save a screenshot of the loaded page
browser.close() # Close the browser window
browser.quit()
from selenium import webdriver
options = webdriver.firefox.options.Options()
options.add_argument("--headless")
service = webdriver.firefox.service.Service(r'path to the geckodriver')
browser = webdriver.Firefox(options=options, service=service)
browser.get('https://www.google.com')
#print(browser.find_element(By.XPATH, "/html/body").text)
browser.save_screenshot("screenshot_using_firefox.png")
browser.close()
browser.quit()
Scrape using Firefox (without geckodriver setup)
- Install the latest Firefox version
- Install
seleniumandwebdriver-managerusing thepipcommand
from selenium import webdriver # Import Selenium WebDriver
from webdriver_manager.firefox import GeckoDriverManager # Automatically download/manage GeckoDriver
options = webdriver.firefox.options.Options() # Create Firefox options object
options.add_argument(“–headless”) # Run Firefox in headless (no GUI) mode
service = webdriver.firefox.service.Service(GeckoDriverManager().install()) # Set up GeckoDriver service
browser = webdriver.Firefox(options=options, service=service) # Launch Firefox with specified options
browser.get(‘https://www.google.com’) # Open Google homepage
# print(browser.find_element(By.XPATH, “/html/body”).text) # (Optional) Print full page text
browser.save_screenshot(“screenshot_using_firefox.png”) # Capture a screenshot of the page
browser.close() # Close the browser window
browser.quit()
from selenium import webdriver
from webdriver_manager.firefox import GeckoDriverManager
options = webdriver.firefox.options.Options()
options.add_argument("--headless")
service = webdriver.firefox.service.Service(GeckoDriverManager().install())
browser = webdriver.Firefox(options=options, service=service)
browser.get('https://www.google.com')
#print(browser.find_element(By.XPATH, "/html/body").text)
browser.save_screenshot("screenshot_using_firefox.png")
browser.close()
browser.quit()
Scrape using Chrome (with chromedriver setup)
- Install the latest Chrome version
- Install
seleniumusing thepipcommand - Download the ChromeDriver from here (The chrome web browser version has to match the webdriver version)
- Extract the ChromeDriver and note the location (E.g., /scrape/chromedriver)
from selenium import webdriver # Import Selenium WebDriver
options = webdriver.chrome.options.Options() # Create Chrome options object
options.add_argument(‘–headless’) # Run Chrome in headless (no GUI) mode
options.add_argument(‘–no-sandbox’) # Disable sandbox (required in containers/VMs)
options.add_argument(‘–disable-dev-shm-usage’) # Prevent shared memory issues
service = webdriver.chrome.service.Service(r’path to the chromedriver’) # Specify the local path to chromedriver
browser = webdriver.Chrome(options=options, service=service) # Launch Chrome with specified options
browser.get(‘https://www.google.com’) # Open Google homepage
browser.save_screenshot(“screenshot_using_chrome.png”) # Take a screenshot of the loaded page
browser.close() # Close the browser window
browser.quit()
from selenium import webdriver
options = webdriver.chrome.options.Options()
options.add_argument('--headless')
options.add_argument('--no-sandbox')
options.add_argument('--disable-dev-shm-usage')
service = webdriver.chrome.service.Service(r'path to the chromedriver')
browser = webdriver.Chrome(options=options, service=service)
browser.get('https://www.google.com')
#print(browser.find_element(By.XPATH, "/html/body").text)
browser.save_screenshot("screenshot_using_chrome.png")
browser.close()
browser.quit()
Scrape using Chrome (without chromedriver setup)
- Install the latest Chrome version
- Install
seleniumandwebdriver-managerusing thepipcommand
from selenium import webdriver # Import Selenium WebDriver
from webdriver_manager.chrome import ChromeDriverManager # Automatically download/manage ChromeDriver
options = webdriver.chrome.options.Options() # Create Chrome options object
options.add_argument(‘–headless’) # Run Chrome in headless (no GUI) mode
options.add_argument(‘–no-sandbox’) # Disable sandbox (required in some environments)
options.add_argument(‘–disable-dev-shm-usage’) # Avoid shared memory issues in containers
service = webdriver.chrome.service.Service(ChromeDriverManager().install()) # Set up ChromeDriver service
browser = webdriver.Chrome(options=options, service=service) # Launch Chrome with specified options
browser.get(‘https://www.google.com’) # Open Google homepage
browser.save_screenshot(“screenshot_using_chrome.png”) # Capture a screenshot of the page
browser.close() # Close the browser
browser.quit()
from selenium import webdriver
from webdriver_manager.chrome import ChromeDriverManager
options = webdriver.chrome.options.Options()
options.add_argument('--headless')
options.add_argument('--no-sandbox')
options.add_argument('--disable-dev-shm-usage')
service = webdriver.chrome.service.Service(ChromeDriverManager().install())
browser = webdriver.Chrome(options=options, service=service)
browser.get('https://www.google.com')
#print(browser.find_element(By.XPATH, "/html/body").text)
browser.save_screenshot("screenshot_using_chrome.png")
browser.close()
browser.quit()
Automated Web Scraping (Example #4 – Best Option)
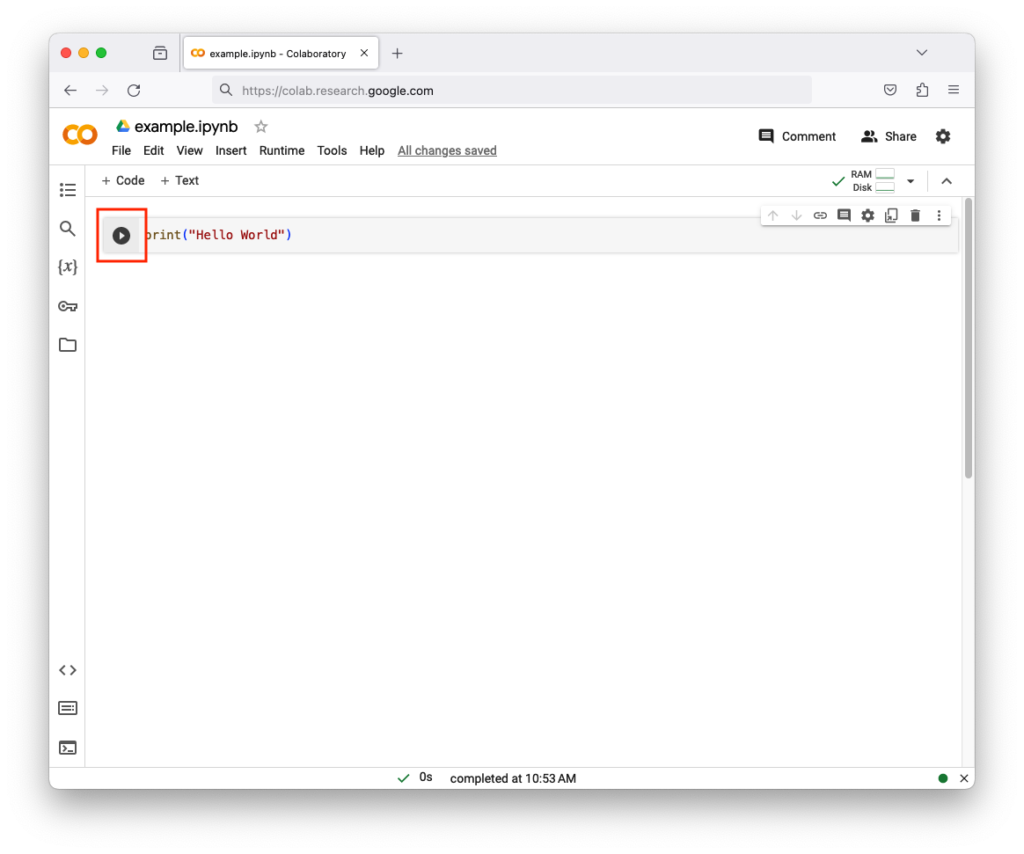
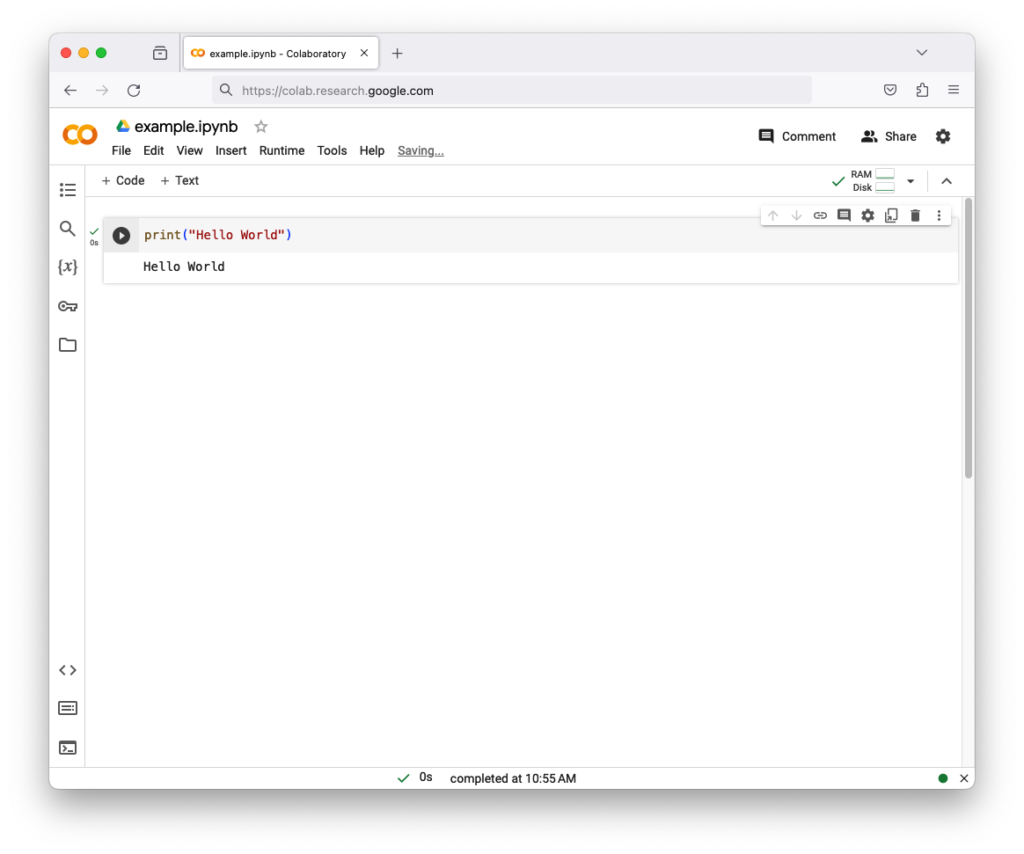
You can run this one in google colab
Install latest chrome version
!apt update # Update the package list from repositories
!apt install libu2f-udev libvulkan1 # Install dependencies required by Google Chrome
!wget https://dl.google.com/linux/direct/google-chrome-stable_current_amd64.deb # Download the Google Chrome .deb package
!dpkg -i google-chrome-stable_current_amd64.deb # Install the Chrome package manually
!apt –fix-broken install # Fix missing dependencies caused by dpkg install
!pip install selenium webdriver-manager # Install Selenium and Chrome driver manager via pip
!apt update
!apt install libu2f-udev libvulkan1
!wget https://dl.google.com/linux/direct/google-chrome-stable_current_amd64.deb
!dpkg -i google-chrome-stable_current_amd64.deb
!apt --fix-broken install
!pip install selenium webdriver-manager
Scrape the website
from selenium import webdriver # Import Selenium WebDriver
from webdriver_manager.chrome import ChromeDriverManager # Automatically manage ChromeDriver
from selenium.webdriver.common.by import By # Import locator strategies (e.g., XPATH)
options = webdriver.chrome.options.Options() # Create Chrome options object
options.add_argument(‘–headless’) # Run Chrome without a visible window
options.add_argument(‘–no-sandbox’) # Disable sandbox (needed in containers/Colab)
options.add_argument(‘–disable-dev-shm-usage’) # Prevent shared memory issues
service = webdriver.chrome.service.Service(ChromeDriverManager().install()) # Install and configure ChromeDriver service
browser = webdriver.Chrome(options=options, service=service) # Launch Chrome with defined options
browser.get(‘https://www.google.com’) # Open Google homepage
# print(browser.find_element(By.XPATH, “/html/body”).text) # (Optional) Print page text using XPath
browser.save_screenshot(“screenshot_using_chrome.png”) # Save a screenshot of the loaded page
browser.close() # Close the browser window
browser.quit()
from selenium import webdriver
from webdriver_manager.chrome import ChromeDriverManager
from selenium.webdriver.common.by import By
options = webdriver.chrome.options.Options()
options.add_argument('--headless')
options.add_argument('--no-sandbox')
options.add_argument('--disable-dev-shm-usage')
service = webdriver.chrome.service.Service(ChromeDriverManager().install())
browser = webdriver.Chrome(options=options, service=service)
browser.get('https://www.google.com')
#print(browser.find_element(By.XPATH, "/html/body").text)
browser.save_screenshot("screenshot_using_chrome.png")
browser.close()
browser.quit()
If you want to wait until a website loads, you can use the sleep function
from selenium import webdriver # Import Selenium WebDriver
from webdriver_manager.chrome import ChromeDriverManager # Automatically manage ChromeDriver
from selenium.webdriver.common.by import By # Import locator strategies (e.g., XPATH)
from time import sleep # Import sleep function
options = webdriver.chrome.options.Options() # Create Chrome options object
options.add_argument(‘–headless’) # Run Chrome without a visible window
options.add_argument(‘–no-sandbox’) # Disable sandbox (needed in containers/Colab)
options.add_argument(‘–disable-dev-shm-usage’) # Prevent shared memory issues
service = webdriver.chrome.service.Service(ChromeDriverManager().install()) # Install and configure ChromeDriver service
browser = webdriver.Chrome(options=options, service=service) # Launch Chrome with defined options
browser.get(‘https://us.shop.battle.net/en-us’) # Open battle homepage
sleep(10) # Wait 10 seconds
# print(browser.find_element(By.XPATH, “/html/body”).text) # (Optional) Print page text using XPath
browser.save_screenshot(“screenshot_using_chrome.png”) # Save a screenshot of the loaded page
browser.close() # Close the browser window
browser.quit()
from selenium import webdriver
from webdriver_manager.chrome import ChromeDriverManager
from selenium.webdriver.common.by import By
from time import sleep
options = webdriver.chrome.options.Options()
options.add_argument('--headless')
options.add_argument('--no-sandbox')
options.add_argument('--disable-dev-shm-usage')
service = webdriver.chrome.service.Service(ChromeDriverManager().install())
browser = webdriver.Chrome(options=options, service=service)
browser.get('https://us.shop.battle.net/en-us')
sleep(10)
#print(browser.find_element(By.XPATH, "/html/body").text)
browser.save_screenshot("screenshot_using_chrome.png")
browser.close()
browser.quit()
Anti Web Scraping
Many websites do not allow for web scraping, they usually implement anti-scraping methods to prevent users from scraping their content; therefore, scaling that process is a tough and tedious job. E.g., If you try to run the following script every second, you will be blocked and prompted with a message saying to slow down!
Example
import requests
import time
while True:
    res = requests.get("https://snort-org-site.s3.amazonaws.com/production/document_files/files/000/043/211/original/ip-filter.blf")
    print(res.text)
    time.sleep(1)
Output
You have exceeded 5 requests to the blacklist in under one minute. Please slow down.Anti Web Scraping Techniques
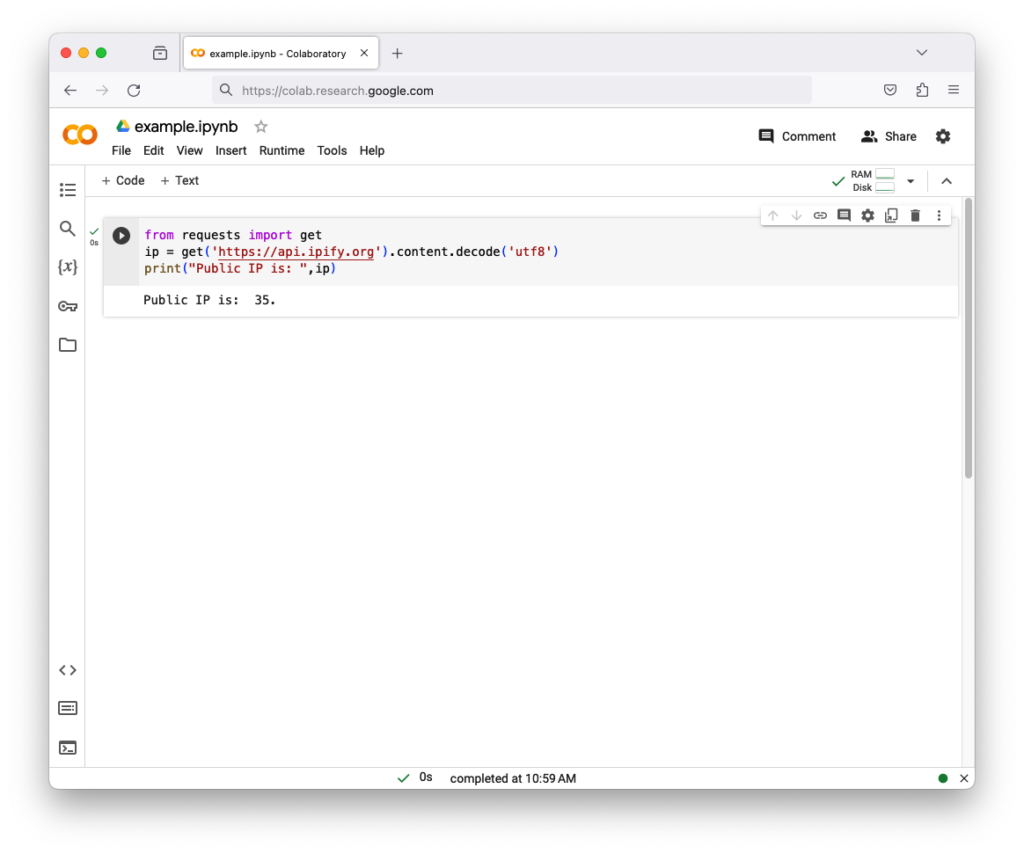
- Fingerprinting
- Getting info about the device using ip, user agents, system resources, etc..
- User Behavior Analysis
- Analyze the user interaction with the resources and block them if they repeat the same pattern
- Authentication
- Add login walls to resources
- Challenges
- Add challenges like a captcha to reveal resources
- Honeypots
- Add honeypots that log users and direct them to different resources if they violate the scraping policy
- Dynamic content
- Switching from static content to dynamic content (The content changes dynamically during runtime)
- Randomizing identifiers
- This is part of dynamic content, the content generates random identifiers
- Rate limits
- Limit the number of users’ request